

Storms strike Atlanta homes every year, leaving families frustrated when insurance claims are denied or undervalued. Facing repairs without proper funds can feel overwhelming, especially when the insurer questions your evidence or coverage. This guide breaks down each step, from building a strong claim file to finding expert advocacy through a public adjuster. Discover how organized documentation and knowing your policy details can make all the difference for homeowners determined to fight for their rightful settlement.
Table of Contents
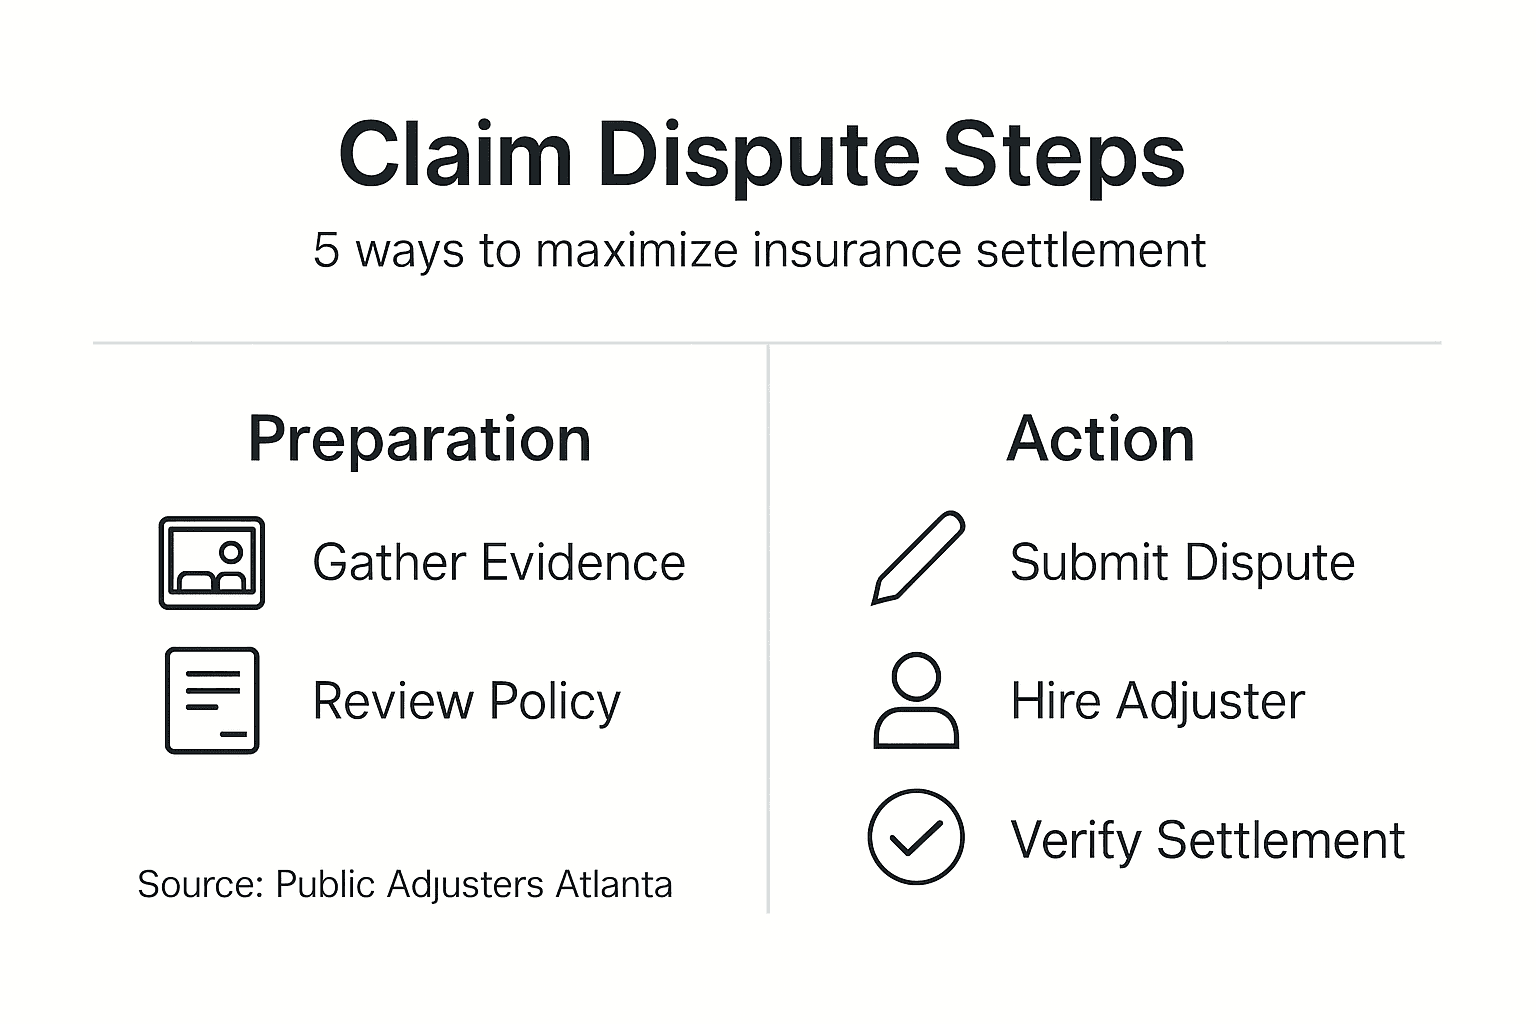
- Step 1: Gather Evidence to Support Your Claim
- Step 2: Review Your Insurance Policy for Coverage
- Step 3: Submit a Formal Dispute to Your Provider
- Step 4: Engage a Public Adjuster for Expert Advocacy
- Step 5: Verify Settlement and Resolution Outcome
Quick Summary
| Key Point | Explanation |
|---|---|
| 1. Document Evidence Immediately | Take photos and gather receipts right after damage occurs for a solid claim foundation. |
| 2. Understand Your Insurance Policy | Review coverage types and limits to know what losses are applicable to your claim. |
| 3. Submit a Clear Formal Dispute | Write a strong letter citing evidence and policy language to formally challenge the insurer’s decision. |
| 4. Consider Hiring a Public Adjuster | A public adjuster can maximize your settlement by advocating solely for your interests in negotiations. |
| 5. Verify Settlement Details Thoroughly | Check payment amounts and conditions to ensure you receive your entitled settlement accurately and fully. |
Step 1: Gather Evidence to Support Your Claim
Your evidence is the backbone of your entire claim. Without solid documentation, insurers have every reason to question what you’ve lost and delay payment. Think of this step as building a case that speaks for itself.
Start by documenting everything immediately after the damage occurs. Take photos and videos from multiple angles, showing both the overall damage and close-ups of specific areas. Capture the condition of affected rooms, damaged items, and any structural issues. If water damage occurred, photograph wet areas and any visible mold growth. For storm damage, document broken windows, roof damage, and debris.
Collect and organize your supporting documentation:
- Original receipts and purchase records for damaged items
- Proof of ownership like bank statements showing the purchase or warranty documents
- Repair estimates and quotes from contractors
- Police reports if the loss involved theft or vandalism
- Medical records if anyone was injured
- Utility bills and bank records that establish your residence
Organize everything chronologically and keep both physical and digital copies in a secure location—your evidence is too valuable to lose.
When gathering receipts and proof of ownership, understand that owning detailed documentation significantly strengthens your position. If original receipts are unavailable, use bank or credit card statements, warranties, or even photographs of the items before damage. For older items without receipts, research comparable pricing online to establish reasonable replacement value.
Create a spreadsheet listing each damaged item with a description, estimated value, date of purchase if possible, and the corresponding photo or documentation. This organized inventory prevents you from forgetting losses and makes the claims adjuster’s job easier, which often translates to faster approval.
Don’t wait to gather this evidence. The sooner you compile it, the fresher your memories are about what was damaged and its condition. Insurance companies expect prompt documentation, and delays can raise red flags about claim validity.
Pro tip: Start a dedicated folder on your phone or computer for all claim-related documents immediately, then take screenshots of everything—emails, texts, photos—and back them up to cloud storage so nothing is accidentally deleted.
Step 2: Review Your Insurance Policy for Coverage
Your insurance policy is a legal contract between you and your insurer. Before you dispute anything or expect a settlement, you need to understand exactly what it says you’re covered for. This step clarifies which losses your policy will actually pay for and which ones fall outside coverage.
Start by locating your complete policy documents. Find your declarations page, which lists your coverage types and limits. Then carefully read through the coverage sections to understand what’s included. Understanding your insurance coverage is fundamental before filing a claim, as it ensures your expectations align with what your contract actually provides.

Pay close attention to these key elements:
Here’s a quick summary of the types of insurance coverage and what they address:
| Coverage Type | What It Protects | Example Scenario |
|---|---|---|
| Dwelling | Structure of your house | Fire damages your roof |
| Personal Property | Belongings inside your home | Theft of electronics |
| Liability | Legal responsibility | Visitor slips and is hurt |
| Additional Living Expenses | Extra costs if displaced | Hotel bills after a storm |
- Coverage types included in your policy (dwelling, personal property, liability, additional living expenses)
- Coverage limits for each type, which cap what the insurer will pay
- Deductibles you must pay out of pocket before coverage kicks in
- Exclusions or specific situations the policy does not cover
- Special conditions or endorsements that modify standard coverage
Your deductible matters more than many homeowners realize—a $5,000 deductible means you pay that amount before the insurer pays anything, which significantly impacts your actual settlement.
Mark up your policy as you review it. Highlight sections that directly relate to your damage. For example, if you have water damage, find the exact language covering water damage claims. Note any timeframes mentioned for filing claims or providing documentation.
Look for policy language about replacement cost versus actual cash value. Replacement cost coverage pays to rebuild or replace damaged items at current prices. Actual cash value subtracts depreciation, meaning you receive less. This distinction can affect your settlement significantly.
If your policy is confusing or you cannot locate specific coverage information, this is an ideal time to consult with professionals who specialize in policy interpretation. An expert review can reveal hidden coverage you didn’t know you had or identify potential claim opportunities.
Pro tip: Create a simple one-page summary of your policy’s key numbers (limits, deductibles, coverage types) and keep it with your important documents—you’ll reference it constantly during the claims process.
Step 3: Submit a Formal Dispute to Your Provider
A formal written dispute transforms your claim from a casual conversation into an official record. This step puts your insurer on notice that you disagree with their decision and expect them to reconsider based on evidence and policy language.
Start by understanding your insurer’s internal appeals process. Most policies include specific procedures and strict deadlines for filing disputes. Check your policy documents or contact your agent to learn the exact timeframe you have to submit a formal challenge. Missing a deadline could forfeit your right to appeal.
When you submit your formal dispute, write a clear letter stating why the decision is wrong. Reference specific policy provisions that support your position. Don’t simply say the claim should be approved—build a case using your evidence and the actual contract language.
Your formal dispute should include:
- Your claim number and policy details for easy identification
- A clear statement that you are formally disputing the denial or low settlement offer
- Specific policy language from your contract that supports your claim
- References to your evidence (attach copies of photos, receipts, repair estimates)
- Explanation of why you believe the insurer’s decision violates the policy terms
- Requested outcome stating the dollar amount or coverage you believe you deserve
A well-organized dispute letter shows the insurer you’re serious and understand the contract—this often prompts a more thorough review than casual communication.
Type your letter professionally and keep the tone factual rather than emotional. Insurance companies respond better to logic and evidence than to frustration. Send it via certified mail or email with read receipts so you have proof of submission.
After you submit your dispute, the insurer must review it and respond within a specific timeframe, usually 30 to 60 days depending on your state. Document everything. Keep copies of every letter, email, and piece of evidence you send. If your claim is denied again after appeal, you’ll have a clear paper trail showing you followed proper procedures.
Pro tip: Number every document and create a simple log with dates showing what you submitted—insurers handle hundreds of claims, and organized, numbered evidence gets treated more seriously than loose paperwork.
Step 4: Engage a Public Adjuster for Expert Advocacy
At this point, you’ve gathered evidence, reviewed your policy, and submitted a formal dispute. If the insurer still won’t budge, it’s time to bring in professional reinforcement. A public adjuster levels the playing field between you and your insurance company.
A public adjuster is a licensed professional hired by you to handle your claim independently from the insurer’s adjusters. Unlike the insurer’s adjuster, who works to minimize payouts, your public adjuster works exclusively for you to maximize your settlement. They assess damages, document losses thoroughly, and negotiate directly with the insurer.
Understand how public adjusters work before hiring one. Most charge a fee based on a percentage of your settlement, typically 5 to 10 percent. This means they only get paid when you get paid, so their interests align with yours. They handle all communication with your insurer, removing the emotional burden from your shoulders.
Before engaging a public adjuster, verify these critical details:
- Valid licensing in Georgia, specifically for your county
- Professional reputation and references from past clients
- Clear fee structure in writing before you sign anything
- No pressure tactics or promises of guaranteed settlements
- Experience with claims similar to yours (water damage, fire, storm damage)
A licensed public adjuster brings expertise in claim valuation, negotiation tactics, and policy language that can dramatically increase what you receive versus handling it alone.
When you meet with a public adjuster, come prepared with your evidence folder and policy documents. They’ll review everything and give you an honest assessment of your claim’s strength. A reputable adjuster will tell you if your expectations are unrealistic rather than taking a case they can’t win.
Before signing a contract, ensure you understand the fee arrangement completely. Ask how they calculate their percentage and whether additional costs apply for inspections or expert evaluations. Get everything in writing.
Once hired, your public adjuster becomes your advocate in all negotiations. They’ll request inspections, gather additional evidence, and submit comprehensive documentation to the insurer. This professional approach often prompts insurers to reconsider their position, especially when they see organized evidence presented by someone with legal standing.
This table highlights key differences between using a public adjuster versus handling your claim alone:
| Approach | Who Advocates for You | Expected Outcome | Typical Cost |
|---|---|---|---|
| Public Adjuster | Licensed professional | Higher settlement | 5-10% of payout |
| Handle Claim Yourself | Homeowner | May settle for less | No direct fee, more time |
Pro tip: Interview at least two public adjusters before deciding—you want someone experienced with your specific damage type who communicates clearly and makes you feel confident in their representation.
Step 5: Verify Settlement and Resolution Outcome
Your settlement is approved. Now comes the critical final step: ensuring you actually receive what was promised and that the settlement truly resolves your claim. Many homeowners make mistakes here that cost them money.
Start by carefully reviewing the settlement letter the insurer sends. Read every detail. Verify that the dollar amounts match what was agreed upon. Check that all covered losses are listed and that nothing was accidentally omitted. If something doesn’t match your understanding, contact the insurer immediately to clarify before accepting any payment.
Understand how your payment will be distributed. Claim payments often involve multiple disbursements rather than a single lump sum. You may receive an advance payment first, with additional funds released after repairs are completed. Some payments go directly to contractors or mortgage lenders if your home has a loan.
Before accepting payment, confirm these critical details:
- Payment amount matches the agreed settlement
- Payment schedule and timing of each disbursement
- Who receives funds (you, contractor, mortgage lender, or split)
- Conditions for final payment such as proof of repairs completed
- Deadline to complete repairs if applicable
- Options to reopen your claim if additional damage is discovered
Don’t rush to accept a settlement without understanding the complete payment structure and any obligations you must fulfill to receive full funds.
If your home has a mortgage, your lender likely has an interest in settlement funds. Many lenders require proof that repairs are completed before releasing funds held in escrow. Coordinate with your lender to understand their requirements and timeline.
Keep detailed records of all repairs and related expenses. Take photos of work in progress and completed repairs. Maintain receipts from contractors and material purchases. This documentation protects you if the insurer questions whether repairs were actually completed.
Once repairs are finished, submit proof to the insurer to trigger final payment releases. Don’t assume payment will be automatic. Follow up actively until you’ve received every dollar you’re entitled to. Some policies allow you to reopen claims within a specific timeframe if you discover additional damage during repairs.
Pro tip: Before accepting the settlement as final, ask the insurer in writing whether your claim can be reopened if new damage appears during reconstruction—Atlanta’s weather can reveal hidden damage as contractors work.
Take Control of Your Insurance Claim Dispute with Trusted Expertise
Disputing an insurance claim can feel overwhelming when your settlement falls short of expectations or is outright denied. The challenge of gathering evidence, understanding complex policy language, and formally filing disputes demands clear guidance and skilled advocacy. If you want to avoid costly mistakes and ensure your claim reflects the full value you deserve, professional help is crucial. The licensed public adjusters we work with specialize in negotiating claims for homeowners and business owners in Atlanta, Georgia. We work closely with you to review your insurance policy, build a compelling case, and maximize your settlement—turning confusion and frustration into confidence and results.
Don’t let delays or denials leave you undercompensated. Contact Public Adjusters Atlanta today for a free damage evaluation. Discover how our expert claim review and policy evaluation can simplify the dispute process and secure the settlement you are entitled to. Act now to protect your property investment and move forward with peace of mind.
Frequently Asked Questions
How can I gather the necessary evidence to dispute my insurance claim?
Start by documenting all damage immediately after it occurs. Take photos and videos from multiple angles, collect receipts and proof of ownership, and organize everything chronologically to strengthen your case.
What should I look for when reviewing my insurance policy before disputing a claim?
Focus on identifying the coverage types, limits, deductibles, and any exclusions in your policy. Highlight sections related to your specific damage to ensure your expectations align with what your policy provides.
How do I submit a formal dispute to my insurance provider?
Write a clear letter that includes your claim number, a concise statement disputing the decision, and reference specific policy language that supports your argument. Send the letter via certified mail or email with delivery confirmation to create a record of your submission.
When should I consider hiring a public adjuster to assist with my dispute?
If your insurer remains unresponsive or offers an unsatisfactory settlement after your formal dispute, engaging a public adjuster may be beneficial. They will work exclusively for you to maximize your settlement while handling negotiations with the insurance company.
What should I verify when I receive the settlement from my insurer?
Carefully review the settlement letter to ensure the payment amounts match what was agreed upon and all covered losses are listed. Confirm the payment schedule and any conditions attached to receiving full compensation, such as the completion of repairs.
How can I ensure my settlement process is fully resolved?
Maintain detailed records of all repairs and related expenses, and submit proof to your insurer to trigger any final payments. Follow up actively until all funds are received, as this ensures that no payments are missed.
Recommended
- How To Negotiate Insurance Settlement For Maximum Payout
- Insurance Claim Tips 2025: Maximize Your Settlement Fast
- How To Negotiate With Insurers For Maximum Claim Success
- Insurance Claim Process Guide For Maximizing Settlements
- Stuff Happens … Are You Covered? | Mortgage Managers
- Slip and Fall Settlements: What Georgia Victims Need